Nextcloud
This book covers access and use of Nextcloud via https://cloud.firehawk-systems.com
First-time Login
Logging In
Access to Nextcloud requires a Firehawk-Systems account
If you don't have a Firehawk-Systems account, follow this process https://knowledge.firehawk-systems.com/books/managing-your-account/page/requesting-an-account
To login to Nextcloud, navigate to https://cloud.firehawk-systems.com, and use your Firehawk-Systems account credentials
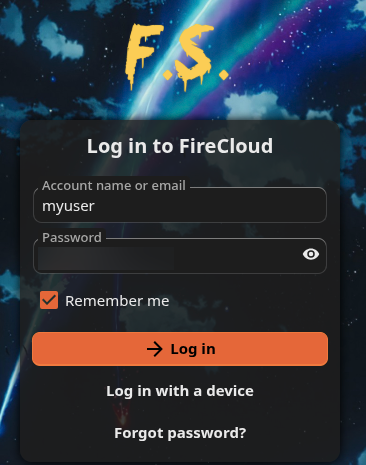
When logging in for the first time, it may take several minutes for your account to be set up
If you cannot login, email support@firehawk-systems.com with the title "REQUEST - Nextcloud Access: <my username>"
When your account is ready, you'll be greeted with a intro popup. You can just close it.
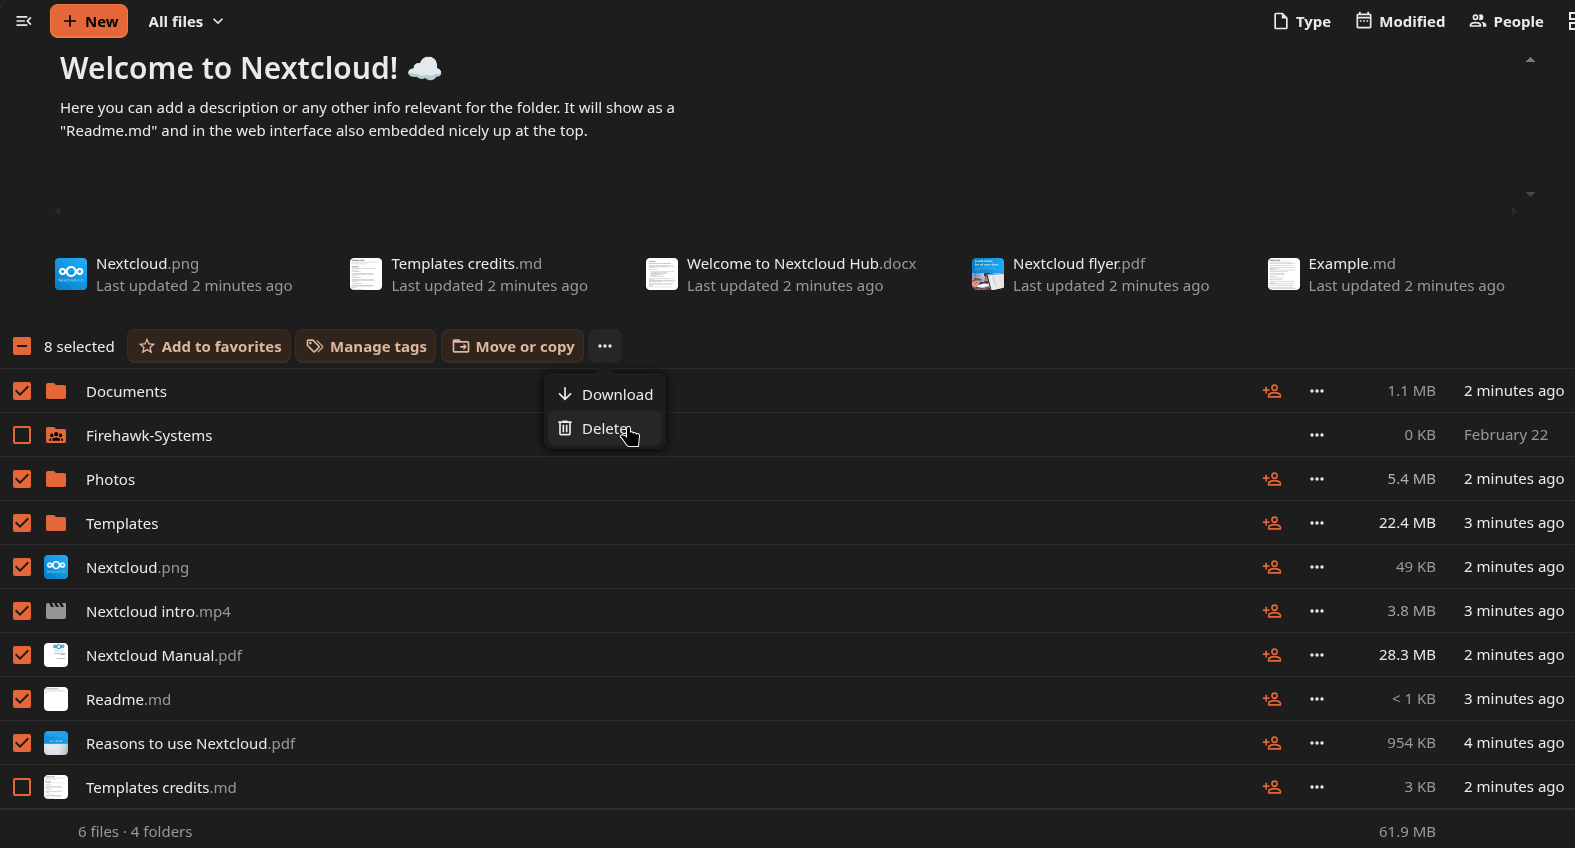
You initial set of files will include numerous template files. You can delete them as shown below
Creating Folders
To avoid future confusion, do the following now:
- Create a Documents folder
- Create a Downloads folder
- Create a Pictures folder
- Create a Videos folder
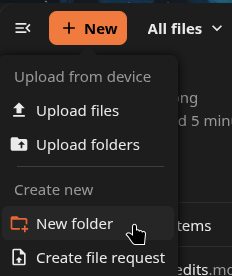
Folders can be created by clicking the "+ New" button then selecting "New Folder"
Configuring Two-Factor Authentication (TFA)
As Nextcloud may contain your private data, you should always secure it with TFA
Click on your user icon the click "Settings"
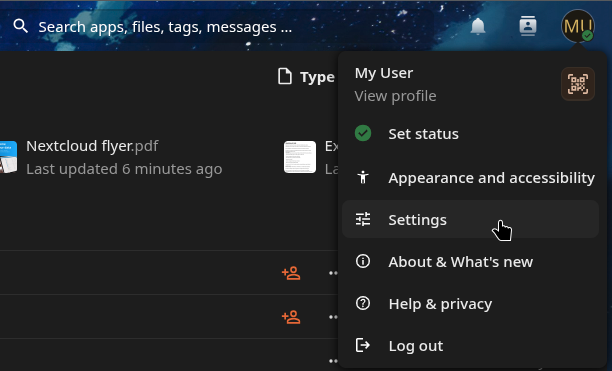
From the Settings menu, click on "Security"
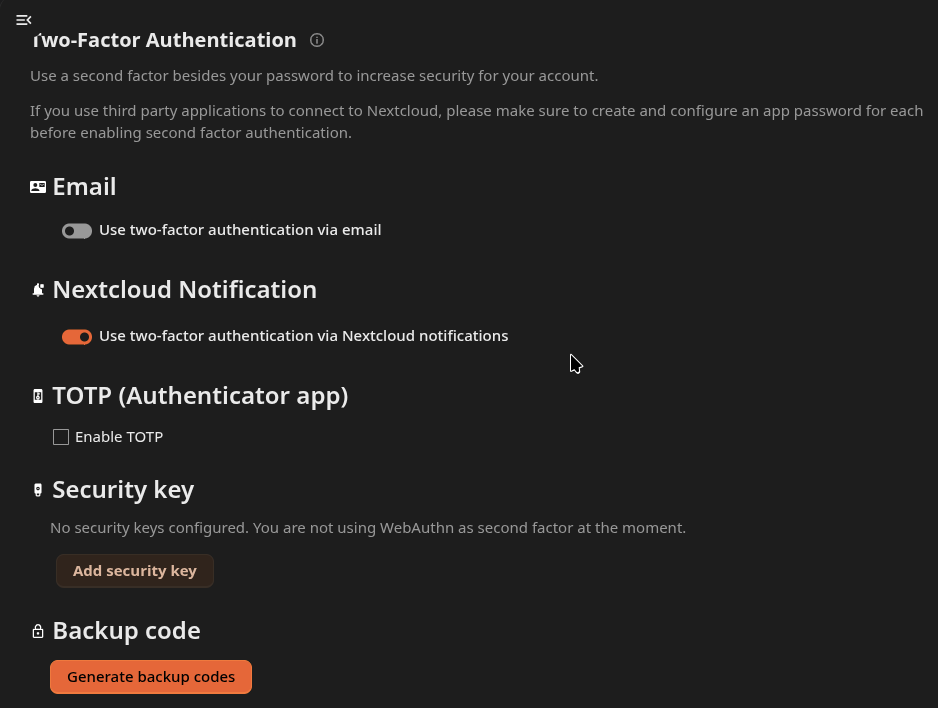
Always check "Use two-factor authentication via Nextcloud notifications". Once you set up Nextcloud on your mobile devices, you can use that to approve new logins to Nextcloud.
Email TFA
To use email as your TFA method, click on the "Use two-factor authentication via email" button. An email containing a link will be sent.
When the link is opened, email TFA will be complete.
TOTP TFA
We recommend using Firehawk-Systems Bitwarden for TOTP, see here: https://knowledge.firehawk-systems.com/books/bitwarden/page/account-setup
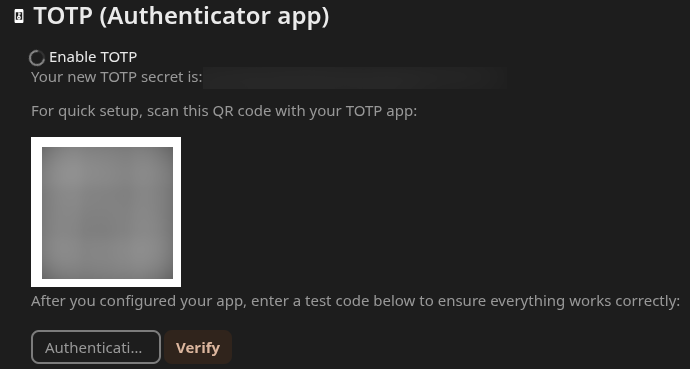
To use TOTP as your TFA method, click on the "Enable TOTP" button. A QR code will be created, which you can scan with your TFA app, then input the 6-digit code it generates to complete the setup.
TFA Recovery Codes
Recovery codes for TFA always important, save them in a safe place
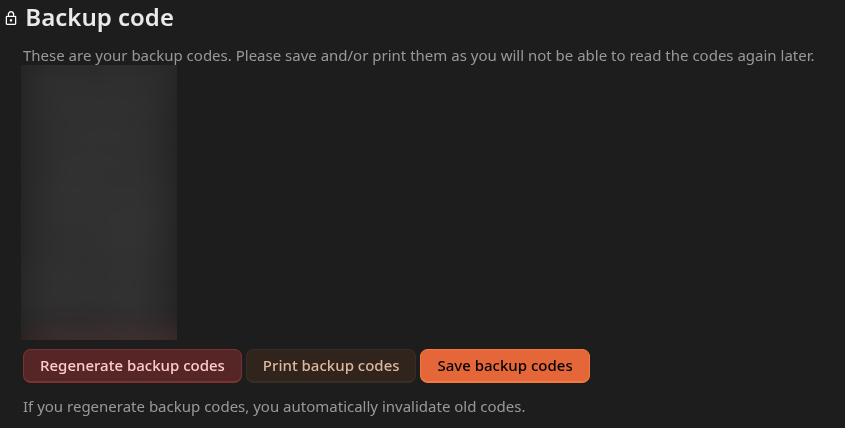
To set up TFA Backup/Recovery codes, click the "Generate backup codes" button. Save the generated codes with the "Save backup codes" button, or copying them manually.
You have completed the Nextcloud First-time Login
Sharing
Nextcloud is particularly powerful because it provides a mechanism to share content without the recipient needing an a Firehawk-Systems account
Creating a Share

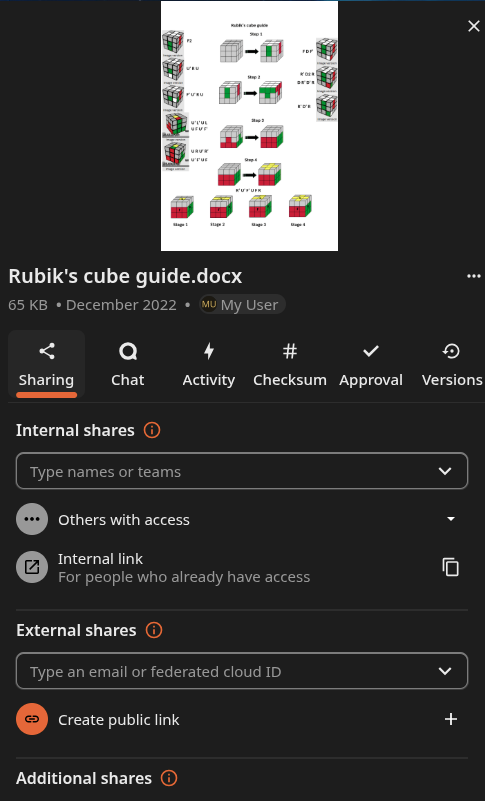
User Shares
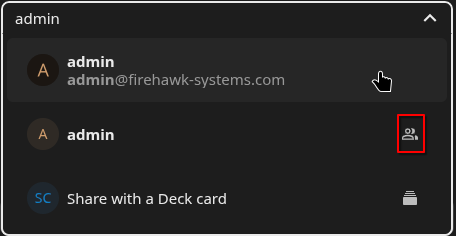
Entries with the highlighted icon are groups, those without the icon are users
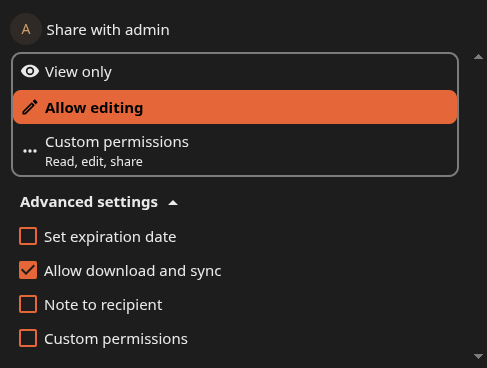
The permission of the share (Edit or read-only) can be selected with either the "View only" or "Allow editing" presets. More granular options are available by clicking on "Custom permissions". The "Advanced settings" button exposes other options like expiration of the share, allowing download of the file (as opposed to only viewing it in the website/app), or attaching a note.
Link Shares
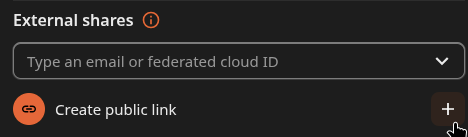
To create a publicly accessible share, click on the "+" next to "Create public link" under "External shares"
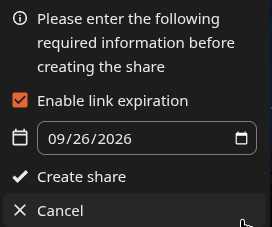

Customize Link Share
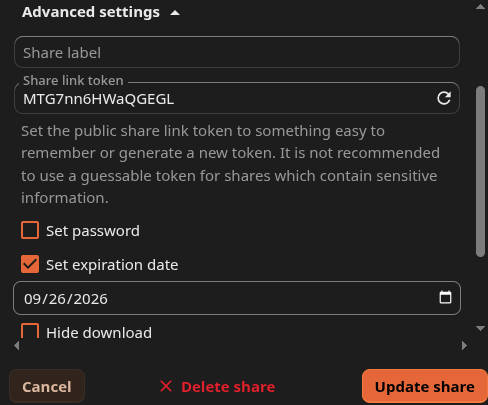
Click on the hamburger menu then "Customize link". The same permission presets as User Shares will show, but "Advanced settings" contains the interesting options.
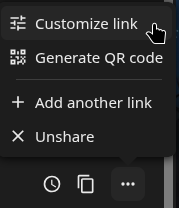
Under "Advanced settings" , the share can be customized with the following: