Bitwarden
This book covers setting up a Bitwarden password manager account with Firehawk-Systems
Account Setup
Create Your Account
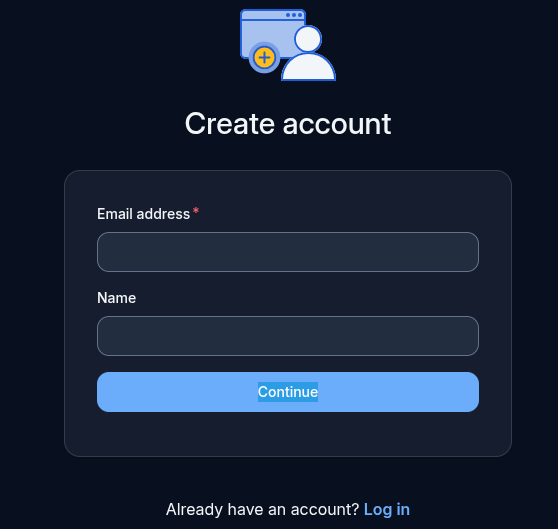
You will be sent a email containing a verification link, once received open it.
The password you enter here MUST be strong, and different to your Firehawk-Systems account
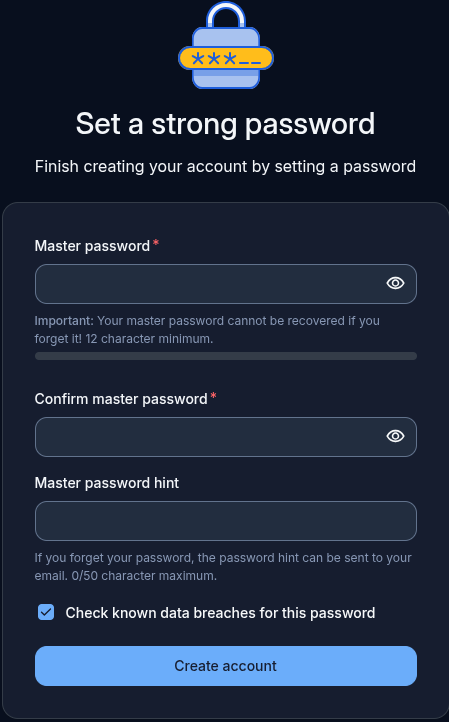
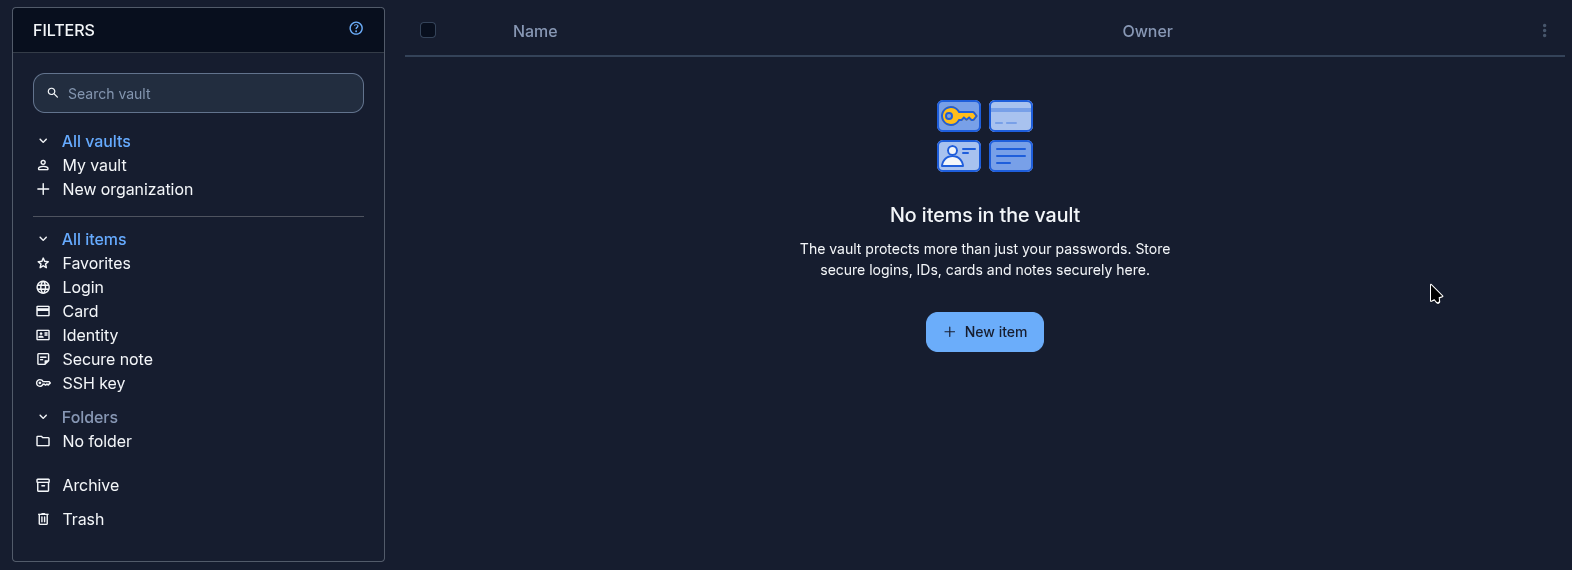
Once you create your account, you'll see the Web Vault where you can managed passwords and TFA secrets.
Importing Existing Passwords
Native browser password stores are NOT secure and shouldn't be used. Bitwarden supports importing them
You may see a popup like below where you can quickly begin the import process

Otherwise you can find the Import utility by clicking on Tools -> Import.
Select the File format for the browser/app you wish to import data from
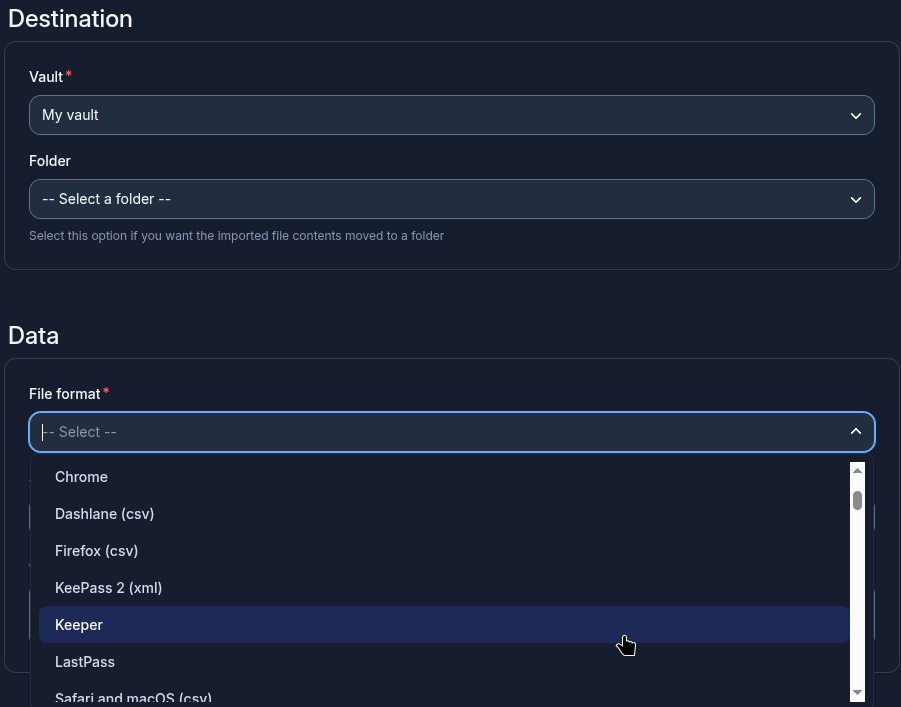
Once a File format is selected, Bitwarden will provide instructions on how to export the data. Follow them, and select the exported file
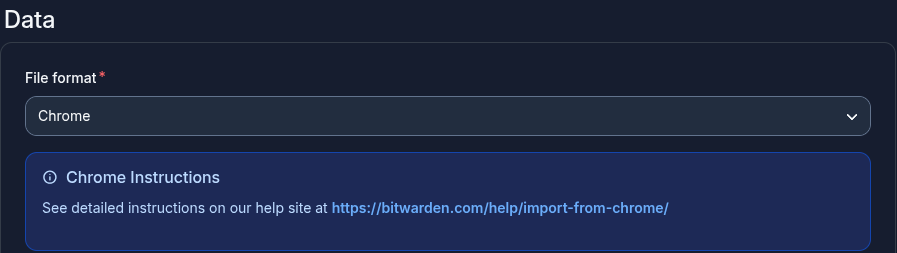
Setting up the Browser Extension
Bitwarden ships a browser extension for all major browsers. The extension carries the benefit of offline access to your password, and auto-completion of login prompts.
The Getting started popup will offer a link to install the Bitwarden browser extension

You may also visit your browser's extension store directly and search for Bitwarden
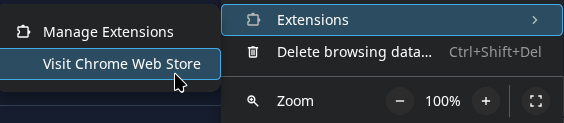
Install and confirm if prompted
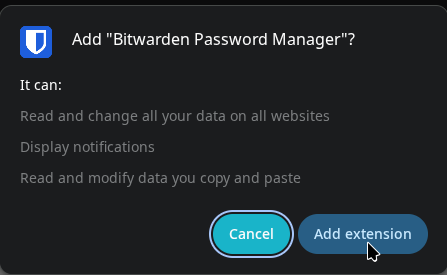
When complete, you should see "Bitwarden..." in the browser toolbar. If it is not visible, you can find it in the extension list and pin it.
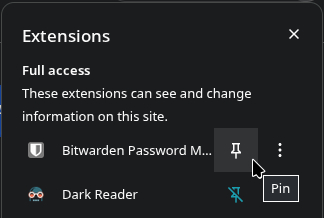
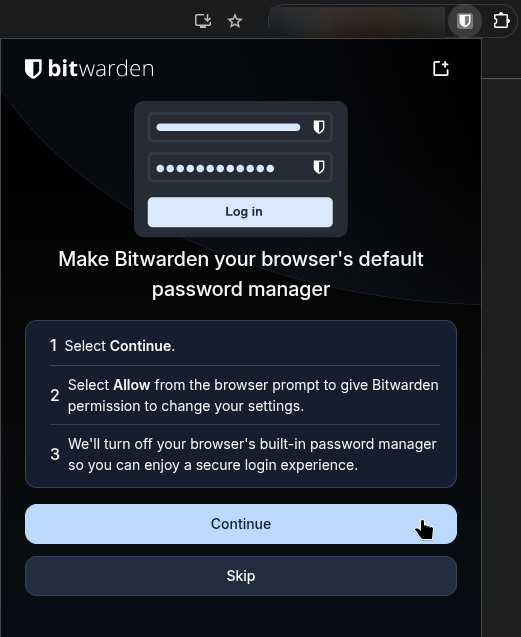
Open the Bitwarden browser extension by clicking the icon in the toolbar. If prompted to make Bitwarden the default password manager, click "Continue"
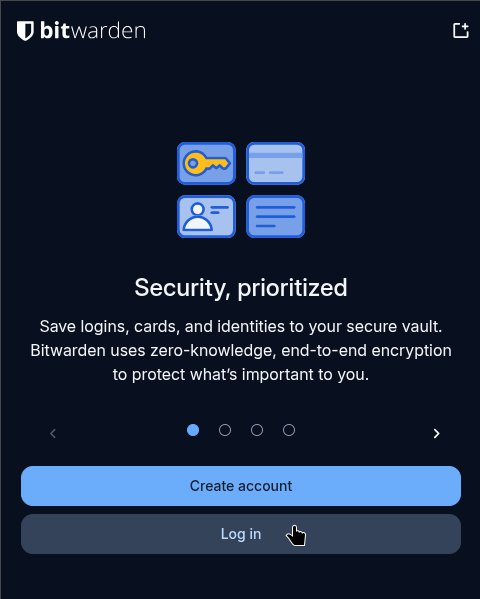
On the next screen, click "Log in"
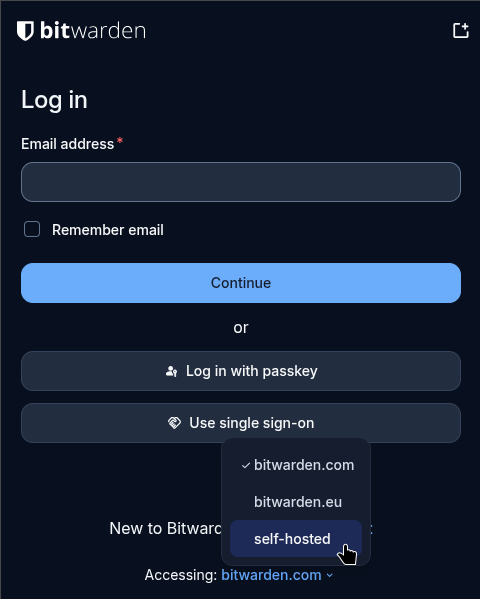
At the bottom of the popup, click on "Accessing: bitwarden.com" and select "self-hosted"
Input https://warden.firehawk-systems.com and press "Save"
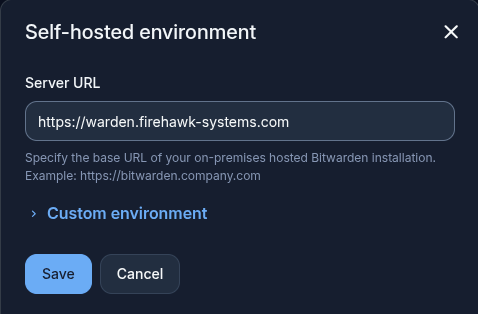
With the field changing to "Accessing: self-hosted", you can now login with your email and password
Setting up Mobile App
Visit https://bitwarden.com/download/ on your mobile device to find the Bitwarden app.
This process is very similar to "Setting up the Browser Extension". Once the self-hosted URL is entered, you can login
You have completed the Bitwarden Account Setup
Passwords, notes, TFA, and files will be synchronized between devices logged into the same account, and both the Bitwarden app and browser extension provide offline access to your vaults.
Visit: for steps to secure your Bitwarden vault. You will not be given full access to Bitwarden resources until you follow those steps
Secure Account Access
Securing Access
Once logged in, Bitwarden uses insecure settings by default. It is strongly recommended to do the following steps
Session Timeouts
Setting session timeouts is essential to prevent anyone with physical access to your devices from stealing passwords
Web Vault
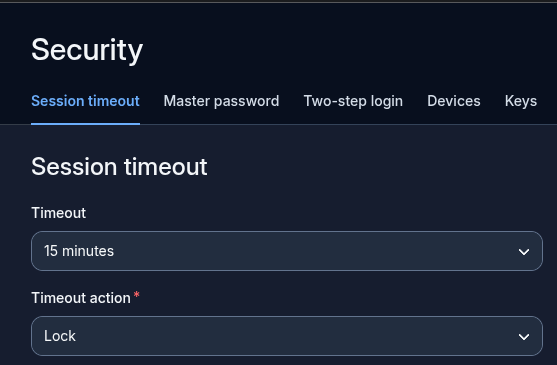
Once logged in, go to Settings -> Security -> Session timeout. Set the timeout to something you're comfortable with.
Browser Extension
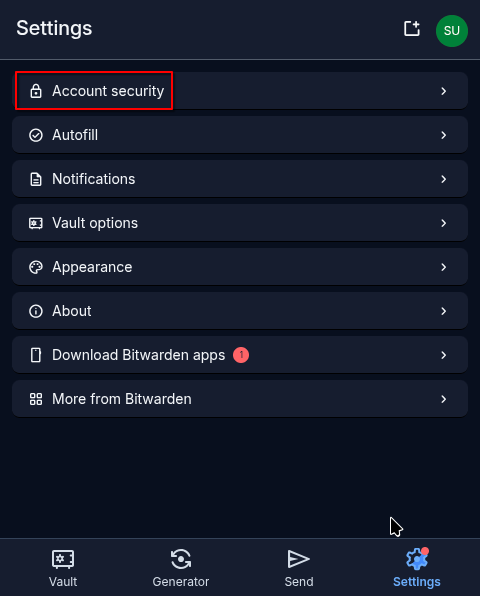
Once logged in, got to Settings -> Account security
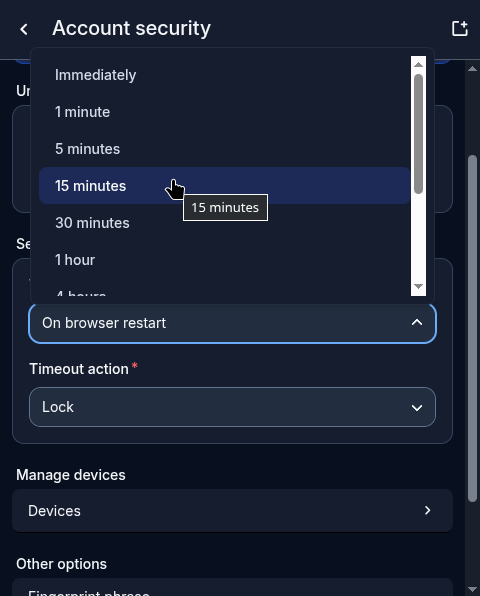
Set the Session timeout to something you're comfortable with.
Mobile App
This process is very similar to "Browser Extension". Find Account security and set the Session timeout
Two-factor Login (TFA)
Your passwords protect you, your vault protects your passwords. Protect your vault.
This step must be performed in the Web Vault at https://warden.firehawk-systems.com
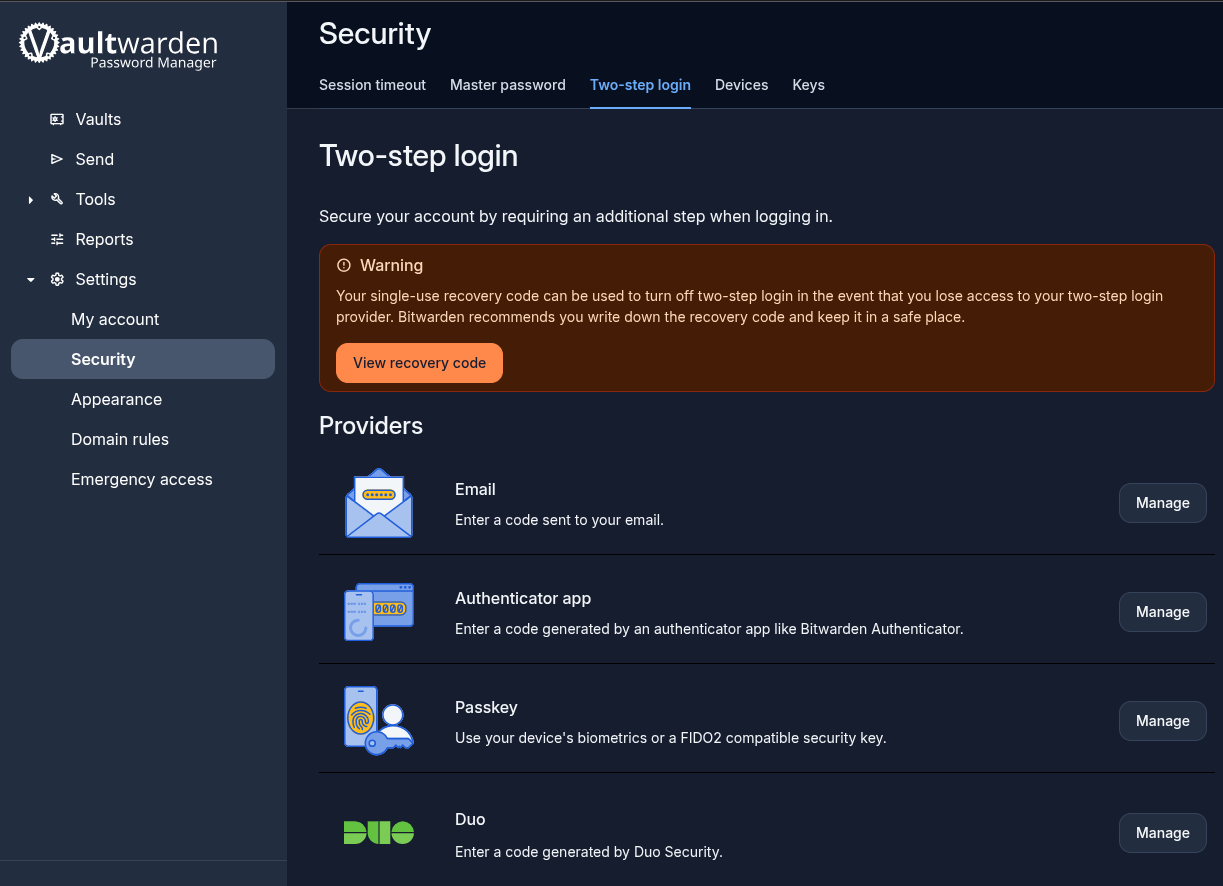
If you have a YubiKey and know how to use it, select Passkey. Otherwise select the "Manage" button next to Email. You will be prompted for your password again.
Do not select Authenticator app unless you know what you are doing, Bitwarden app should never be used for this
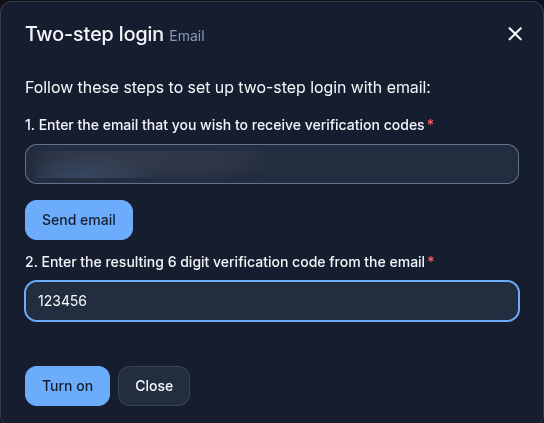
Enter the code that gets sent once 'Send email" is clicked. A green tick will appear next to Email when successful
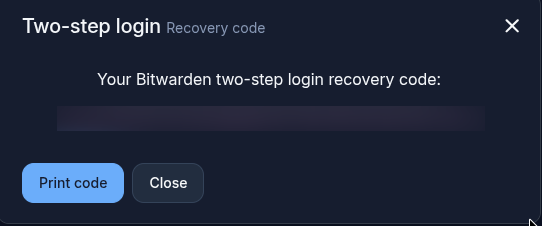
Save Recovery Code
The recovery code is required to regain access to your account if the primary TFA method fails, and should be stored somewhere safe.
In the warning box, click "View recovery code". You will be prompted for your password again.

Highlight and copy the pink text, then save somewhere safe.